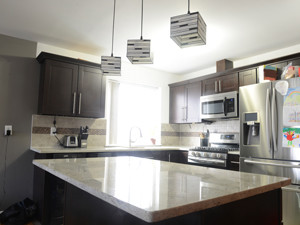
In recent years, there have been complaints from consumers who thought they had purchased quartzite for their countertops because of their its unique durability. Quartzite will not etch (a dullness of the surface) or become easily scratched. Later, when their tops are etched and scratched, they learn the hard way that their tops are actually marble. Marble is a beautiful stone and in the right environment an ideal choice. But for kitchens and other places where the countertops are exposed to high use and acidic liquids, without being specially protected, marble will become damaged and will need to be professionally honed and polished to restore that brand new look. This article explains the difference between quartzite and marble and how to tell what countertop material you truly have.
About Marble
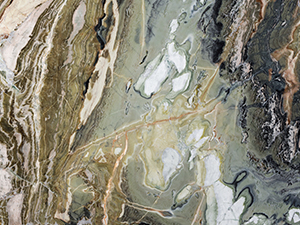
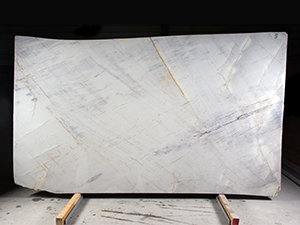
Marble is a metamorphic material that contains an abundance of the mineral calcium carbonate, which is soft and chemically reacts to acidic substances. This means marble is very susceptible to acid etch damage. Heat, pressure, and other geological forces destroy or modify the texture and structure of limestone or dolomite rock, resulting in a new form of rock known as marble. When the limestone or dolomite are very pure, the resulting marble is white. When the limestone or dolomite is mixed with clay, iron oxides, or other minerals, the resulting marble may have swirls, veins, or varieties in color.
About Quartzite
Quartzite is also a metamorphic rock but differs from marble in that it does not contain calcium carbonate. This means it is not susceptible to acid etch damage. Quartzite is formed when heat, pressure, and other geological forces destroy or modify the texture and structure of quartz sandstone. When the quartz sandstone is very pure, the resulting quartzite is white or gray. When the quartz is mixed with iron oxide or other minerals, the resulting quartzite may have streaks, lenses (transparent pieces), and varieties color.
Tests to Determine Stone Type: Marble or Quartzite
Marble and quartzite can be very similar in appearance. Fortunately, there are a couple of simple tests one can perform to tell the difference between them: the scratch test and the acid test. If you attempt to perform either of these potentially destructive tests, you should obtain a sample or use a piece of scrap countertop material to perform the tests. If neither are available to you, test in an inconspicuous spot knowing that the test may cause damage.
The Scratch Test
In order to understand how the scratch test works, we need to provide a little more science. The hardness of minerals can be determined by what is called the Mohs scale of mineral hardness. This scale rates minerals from the softest mineral, being a 1, to the hardest mineral, being a 10. Calcium has a Mohs hardness of 3. Quartz has a hardness of 7. A standard kitchen knife has a hardness of about 6.
Use a knife to scratch the surface of a countertop. The outcome indicates the hardness of the mineral. If the knife leaves a scratch, the stone is likely marble. If there are no scratches, the stone is likely a much harder stone like quartzite or granite.
The Acid Test
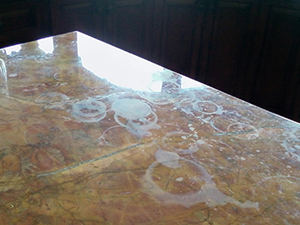
Calcium reacts to acids, causing etch damage. The etch may or may not have texture, depending on the severity of etch damage. Common acids will not affect quartz. Vinegar or a lemon wedge can be used for the test. Place the lemon wedge or a drop or two of vinegar on the stone and allow several minutes dwell time. Wipe up the excess. If it leaves a dull spot, that a positive indication for the presences of calcium, which indicates the countertop is marble and not quartzite.
What You Need to Know If You Have Marble
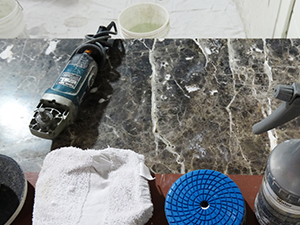
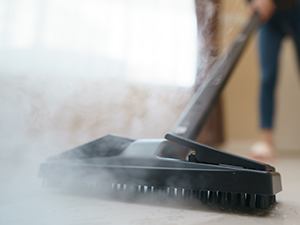
If you discovered you have marble, not quartzite, by way of these tests or because you already have countertops installed that have etch marks or scratches, rest assured that you are not doomed to live with unsightly damage or replace your countertops. Professional stone restoration contractors can hone and polish your countertops, virtually erasing damage and leaving your tops with a beautiful, pristine finish. Your contractor can also offer solutions for protection appropriate for your countertop material.
This article is one of a series of articles written and published on behalf of Surface Care PROS Partners.