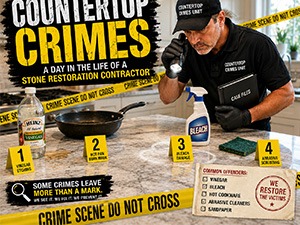
What not to do on stone and quartz countertops
A Day in the Life of a Stone Restoration Contractor
If you restore stone countertops for a living, you quickly learn one important fact: most countertop damage isn’t caused by disasters. It’s caused by perfectly nice people making perfectly understandable mistakes.
Marble calls we get nearly every day.
Homeowners don’t wake up in the morning thinking, “Today I’d like to etch my marble.”
Yet somehow, it happens. Every. Single. Day.
One of the most common calls we receive starts with:
“I don’t know what happened.”
Usually, we know exactly what happened.
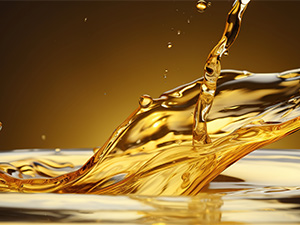
The vinegar happened.
Or the lemon juice.
Or the wine spill that sat overnight.
Or the cleaning hack someone found on Facebook.
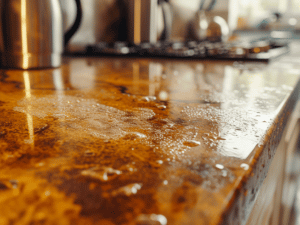
Marble may have survived thousands of years in famous buildings and sculptures, but it still doesn’t enjoy being cleaned with acidic products.
Then there are the quartz countertop calls.
Quartz is incredibly durable, but it’s not indestructible.
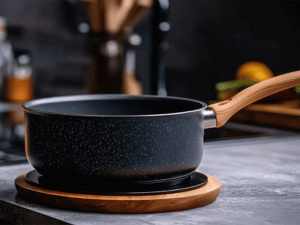
We’ve seen hot crockpots, air fryers, curling irons, electric griddles, and frying pans parked directly on quartz surfaces.
Sometimes homeowners hear a faint popping sound.
That’s rarely a good sign.
Heat and engineered stone don’t always play nicely together, and those dull spots or discoloration marks can become expensive reminders that trivets exist for a reason.
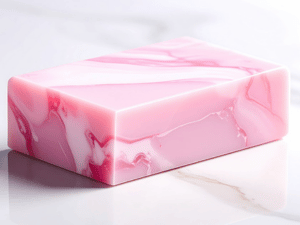
Alas, then there are the cleaners.
The cleaners deserve their own category.
We’ve seen:
- Abrasive powders used on polished marble
- Bleach left sitting on natural stone
- Oven cleaner sprayed on limestone
- Nail polish remover used to clean countertops
- Magic erasers used with the enthusiasm of a power sander
- Vinegar recommended by a well-meaning friend
- Sandpaper brought out as a “quick fix”
Yes.
Actual sandpaper.
At some point, every restoration contractor has stared at a countertop and wondered:
“What exactly happened here?”
The answer is usually creativity.
Homeowners are resourceful.
Unfortunately, countertops sometimes suffer because of it.
We’ve removed rust rings from shaving cream cans.
We’ve treated hair dye stains.
We’ve repaired etching from beauty products.
We’ve restored burn marks from hot cookware.
We’ve even seen surfaces damaged by cleaning products that promised to make them shine.
Ironically, many of those products are the reason the shine disappeared in the first place.
The good news is that most countertop damage is completely preventable.
A few simple habits go a long way:
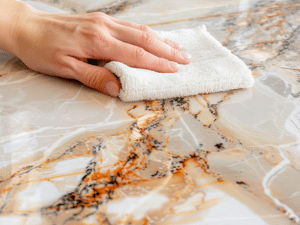
- Use a stone-safe neutral cleaner.
- Wipe up spills promptly.
- Use trivets under hot cookware and appliances.
- Avoid harsh chemicals.
- Skip abrasive powders and scrub pads.
- Follow the manufacturer’s recommendations for your specific surface.
- Make sure your stone is sealed and protected if necessary.
That’s really it.
Countertop care isn’t complicated.
The challenge is resisting the urge to experiment with whatever cleaning tip is currently trending online.
Because while vinegar, bleach, and abrasive scrub pads may seem like a good idea at the time, they’re often the reason homeowners end up calling us.
And if we’re being completely honest…
That’s usually how stone restoration contractors buy new boats.
The good news is quartz can be repaired, natural stone can be restored to like-new, and protective sealers and treatments can go a long way in preventing stone from damage. Contact us to schedule a consultation.
By Deborah Shaw Nelson. This article is one of a series of Caring For It™ articles written and published on behalf of Surface Care PRO Partners.