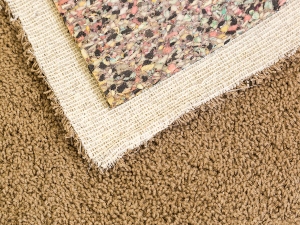
What is carpet padding?
Carpet padding is a separate piece of underlayment that you put down between the floor and the bottom of your carpet or area rug. It can be made of a variety of different materials, such as rubber, fiber, or foam. Carpet padding can normally be purchased as a pad or a roll and if needed, it can be cut, usually with scissors, to fit your space
Why do I need carpet padding?
There are several reasons you should always get carpet padding under your carpet or area rug.
- Makes walking easier – Carpet padding absorbs the shock and impact of your footsteps, helping to alleviate walking fatigue. It also makes walking softer and more comfortable.
Absorbs sounds- Studies show that carpet padding actually absorbs sound, making your footsteps quieter and less likely to disturb other people. This is especially important in multi-story homes. - Carpet Life – Having a carpet pad under your carpet or area rug helps to extend the life of your carpet. A carpet pad helps to reduce fiber crushing and keeps your carpet looking and feeling softer for much longer than a carpet without a pad underneath. It also absorbs the impact of everyday wear and tear, which also extends the life of your carpet.
- Insulation – Carpet padding helps to insulate your home. It helps with heat retention in the winter and cool air retention in the summer, in turn helping to reduce your heating and cooling bills.
- Protection – A carpet pad underneath your carpet or rug helps to protect your original floor from damage. Sometimes the backing on a carpet can scratch your original floor. Plus, any spills or pet stains that seep through the carpet itself, will also have to go through the pad before it reaches the original floor.
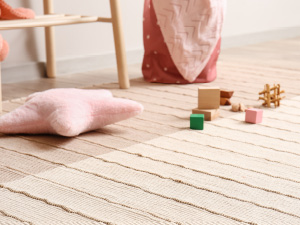
- Safety – This is important with area rugs. Padding can keep area rugs from slipping and sliding, reducing slip and fall accidents
Does thickness matter?
The thickness of carpet padding actually does matter. The thickness of the pad should range somewhere between ¼ inch and 7/16 of an inch, although some experts say ½ inch is fine. Thickness should depend on the type of carpet fiber and the location where the carpet is being put.
- If your padding is too thin, it will not absorb the shocks, and wear and tear needed to extend the life of your carpet or area rug. Plus, it will not cushion your footsteps or absorb sounds as well.
- If your padding is too thick, it can cause uneven wear on your carpet, as well as promote seam splitting.
- Talk to your carpet specialist about the thickness that is best for the carpet or rug you have.
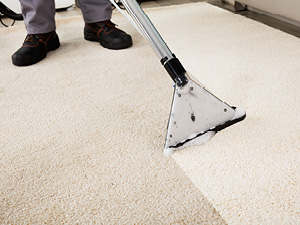
Can carpet padding be cleaned?
Sometimes yes and sometimes no. The trick to cleaning the pad is to remove the carpet on top. With wall-to-wall carpet, that is not so easy. With area rugs, that process is much easier. However, if you can’t remove the carpet or if the stain is very bad, the best thing to do is to consult your carpet cleaning specialists. They can guide you on the best course of action for cleaning your pad.
You wouldn’t wash dishes without detergent or get a new computer without virus software. You shouldn’t get new carpet or rugs without the correct padding underneath. Consider the padding to be a helper in your carpet or rug investment. It will help to extend the life of your carpet or rug and make you more comfortable at the same time. Remember, always get the padding with the carpet.
This article is one of a series of articles written and published on behalf of Surface Care PROS Partners.