Tile Hacks
Because Not Everything That Goes Viral Should Go on Your Floors
We’ve all seen them — those oddly satisfying TikTok cleaning hacks that promise to make your floors “shine like new” in five minutes or less. But here’s the truth: while some of those videos rack up millions of views, they can also rack up serious damage to your tile and grout.
We’ve seen it all — from etched tiles to discolored grout — all thanks to viral cleaning “tricks” that should’ve stayed in the drafts. So before you grab that bottle of vinegar or the magic combo of baking soda and dish soap, here’s what you really need to know.
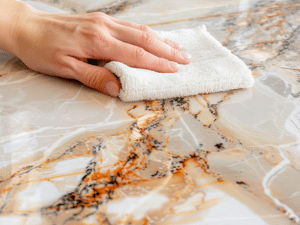
The Vinegar & Lemon Juice “Deep Clean”
It sounds natural, it smells fresh, and it looks great on camera. But in reality?
Vinegar and lemon juice are both highly acidic, which means they can etch and dull the finish on natural stone like marble, limestone, or travertine — and can even degrade some grout sealants over time.
Better idea: Use a pH-neutral cleaner made specifically for tile and stone. It safely removes grime without harming your surface or its protective sealer.
The Steam Cleaner Shortcut
Steam cleaners look powerful — and they are. Too powerful, in fact. The high heat and moisture can weaken grout lines, break down sealers, and even cause tiles to lift if used incorrectly.
Better idea: Professional hot-water extraction systems are calibrated for safe temperature and pressure, ensuring a deep clean without damage.
The Bleach-and-Toothbrush Routine
Scrubbing grout with bleach may look satisfying on TikTok, but it’s one of the fastest ways to discolor your grout and strip sealants. Plus, prolonged bleach exposure can damage surrounding tile and indoor air quality.
Better idea: Trust professionals who use grout-safe, non-toxic solutions that clean, sanitize, and preserve your floor’s natural color.
The Baking Soda Paste Fix-All
Baking soda is a favorite in DIY cleaning, but when mixed with water or vinegar, it forms an abrasive paste that can scratch polished tile surfaces. Over time, it can make your shiny floors look dull and hazy.
Better idea: Use professional-grade cleaning agents or have your tile periodically polished and sealed to restore shine safely.
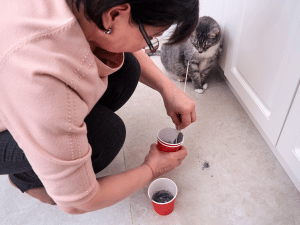
The “Miracle Spray” Mystery Mix
That homemade concoction in an unlabeled spray bottle might look like magic, but it’s usually a chemical cocktail that reacts unpredictably with sealers or finishes. TikTok doesn’t show what happens three weeks later — when the grout turns yellow or the tile starts flaking.
Better idea: Always follow manufacturer guidelines or call tile pros for a professional assessment before trying anything new.
The Bottom Line
TikTok hacks are fun, fast, and visually satisfying — but when it comes to tile and grout, what looks good online can be costly offline.
Your tile floors are an investment. They deserve more than experimental cleaning recipes from a 30-second clip. With professional tile and grout cleaning and sealing, you’ll get the spotless, lasting results those viral hacks promise — without the risk.
So before you follow the next “easy floor cleaning trick,” ask yourself:
Would you trust your home’s beauty to a social media trend… or to a Certified PRO?
By Deborah Shaw-Nelson. This article is one of a series of Caring For It™ articles written and published on behalf of Surface Care PRO Partners.